Upgrading your B46 engine with a performance downpipe is one of the most effective modifications to enhance turbo efficiency, increase horsepower, and elevate the driving experience. This b46 downpipe Installation Guide will walk you through the benefits, tools required, installation steps, and post-installation considerations, all while optimizing your engine’s potential.
Why Upgrade to a B46 Downpipe?
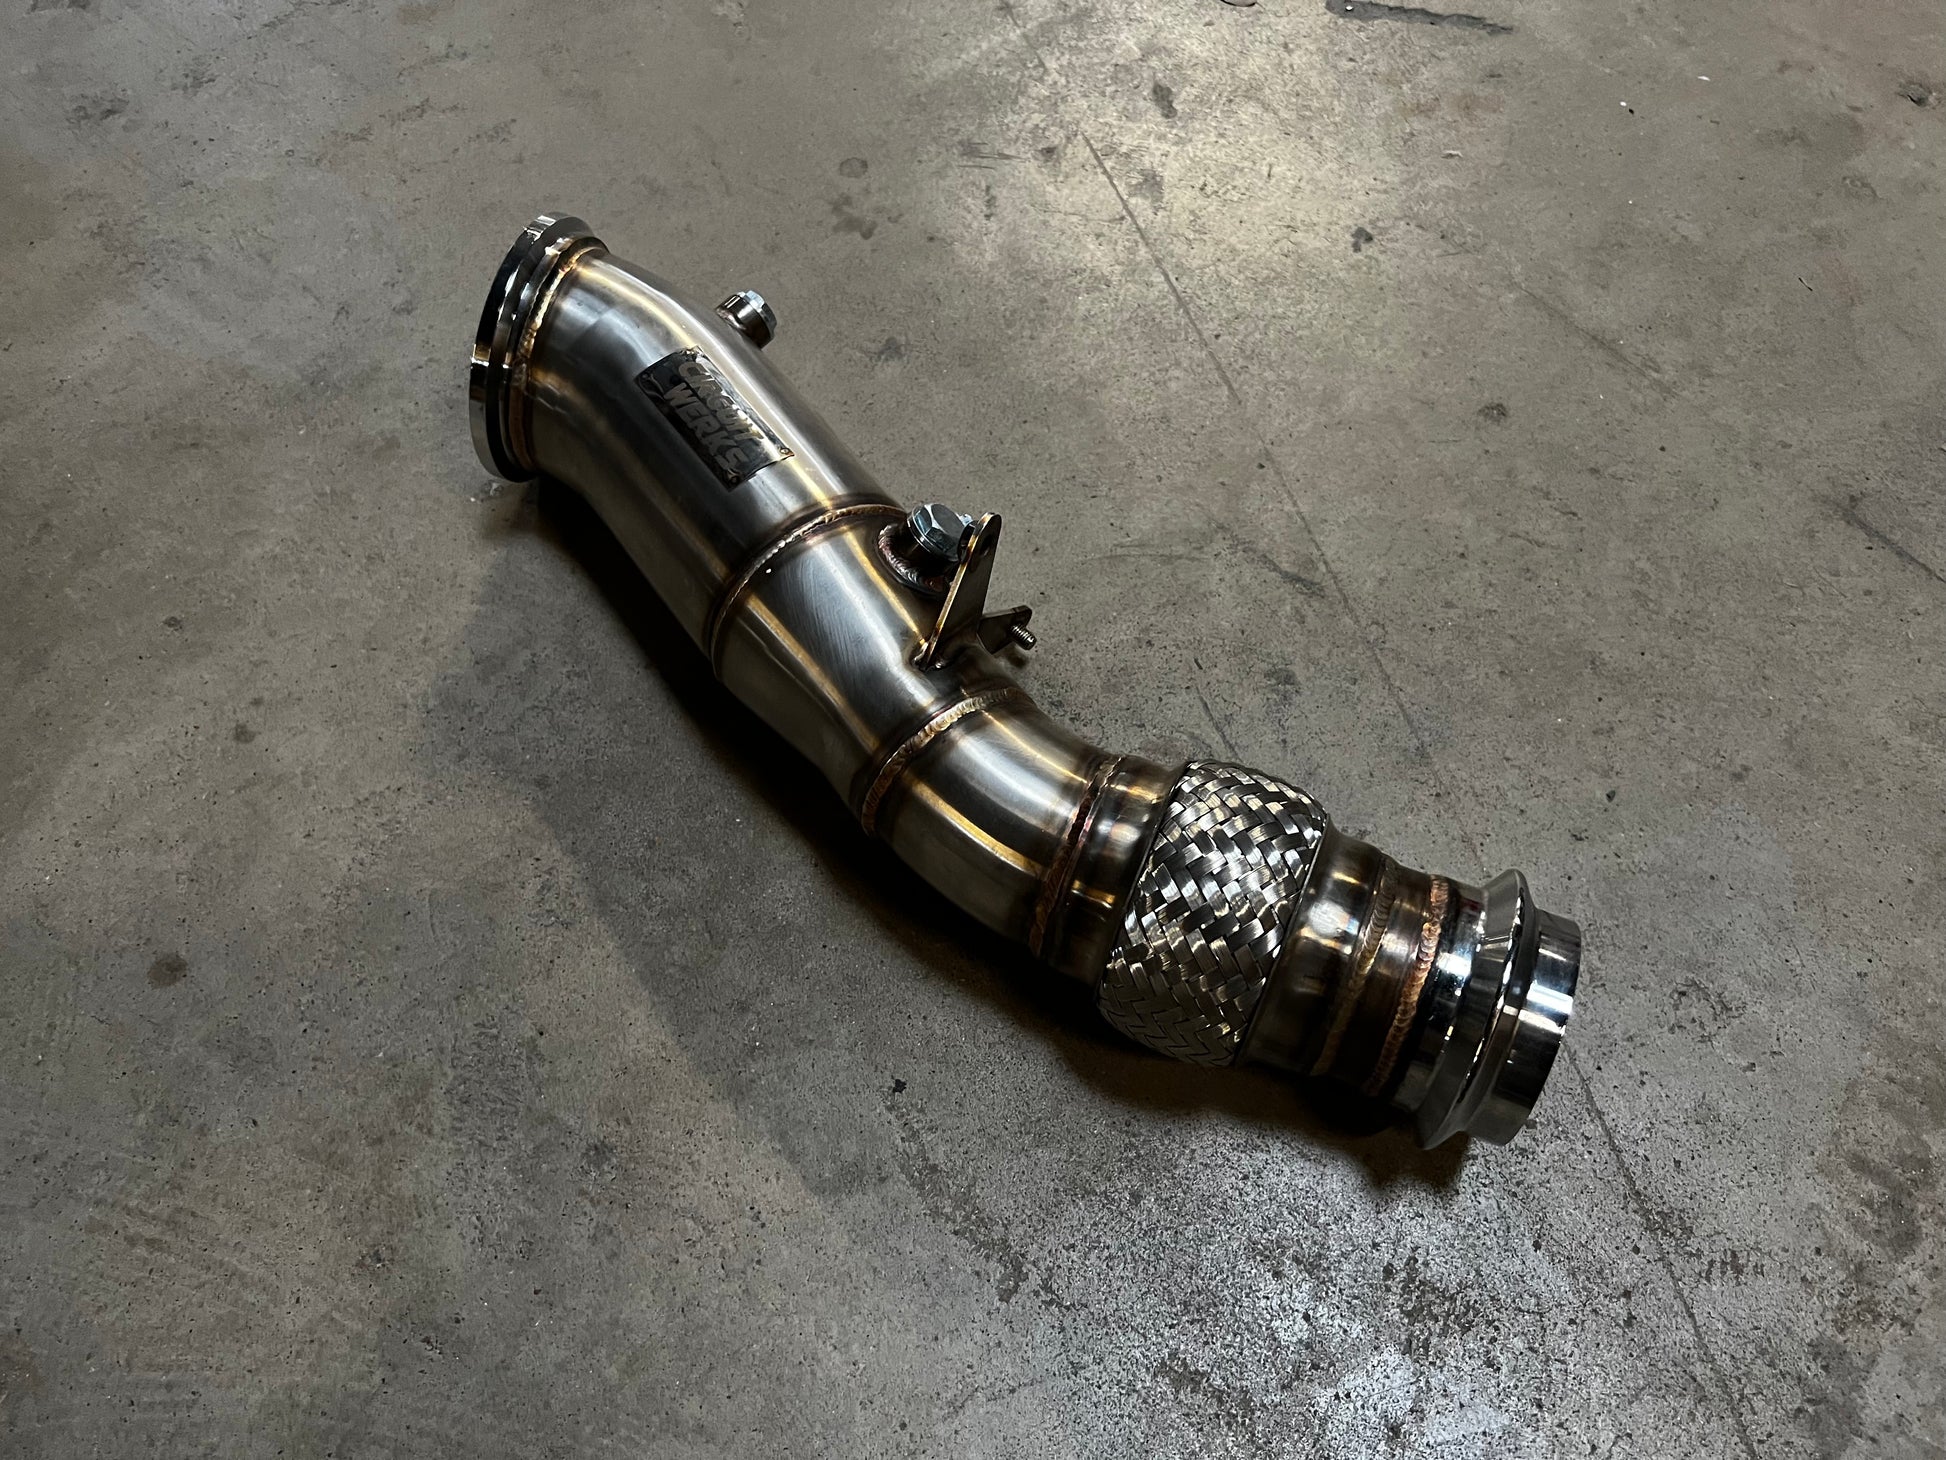
The factory downpipe on a B46 engine is designed with emissions compliance in mind, often restricting exhaust flow and limiting performance. Upgrading to a high-flow B46 Downpipe significantly reduces backpressure, allowing the turbo to spool faster and operate more efficiently.
Performance Benefits
A performance B46 Downpipe can yield noticeable improvements in horsepower and torque, especially when paired with an ECU tune. Drivers often report gains of 20-30 horsepower, quicker throttle response, and reduced turbo lag.
Sound Enhancement
One of the most popular side effects of upgrading to a B46 Downpipe is the deeper, more aggressive exhaust note. Enthusiasts enjoy a sportier sound, especially under acceleration and at higher RPMs.
Tools and Equipment Required
Before beginning the installation, gather the necessary tools to ensure a smooth process. Proper preparation is essential when installing a B46 Downpipe.
Tools List
- Jack and jack stands or a vehicle lift
- Socket set (metric sizes)
- Torque wrench
- Oxygen sensor socket
- Penetrating oil
- Protective gloves and eyewear
Ensure the engine is cool before starting. Working on a hot engine can lead to burns and damage to components.
Step-by-Step B46 Downpipe Installation
Step 1: Prepare the Vehicle
Lift the vehicle securely and disconnect the battery. Use penetrating oil on exhaust bolts and oxygen sensors to ease removal. Locate the stock B46 Downpipe connected between the turbocharger and the mid-pipe.
Step 2: Remove the Stock Downpipe
Disconnect the oxygen sensors using an appropriate socket and label them for reinstallation. Unbolt the V-band clamp securing the downpipe to the turbo. Then, remove the mounting brackets and detach the B46 Downpipe from the mid-pipe.
Step 3: Install the New B46 Downpipe
Position the new B46 Downpipe and loosely secure it to the turbo with the V-band clamp. Align the mounting brackets and mid-pipe connection. Tighten all bolts to factory specifications using a torque wrench. Reinstall the oxygen sensors in their respective ports.
Step 4: Final Checks
Double-check all fittings and connections. Ensure there are no exhaust leaks and that the new B46 Downpipe clears any surrounding components. Reconnect the battery and lower the vehicle.
Post-Installation Considerations
ECU Tuning
To maximize the benefits of a B46 Downpipe, an ECU tune is highly recommended. Tuning helps optimize fuel and boost delivery, ensuring the engine takes full advantage of the improved exhaust flow.
Check Engine Light
Because the factory B46 Downpipe includes a catalytic converter, installing a catless or high-flow version may trigger a check engine light. This can typically be resolved with a tune or an oxygen sensor spacer.
Maintenance Tips
Regularly inspect the B46 Downpipe and associated hardware for signs of wear or leaks. Proper maintenance will extend the life of your performance upgrade and ensure reliable operation.
Conclusion
Installing a B46 Downpipe is one of the most rewarding upgrades for your turbocharged engine. From improved throttle response and power gains to a more aggressive exhaust tone, the benefits are immediate and noticeable. By following this B46 Downpipe Installation Guide, you can confidently complete the installation and unlock the full potential of your B46 engine. Whether you’re seeking more power for the street or improved performance for the track, a B46 Downpipe is an essential component for any enthusiast aiming to push their vehicle further.